
What Are You Looking For?
Introduction |
A garage serves as a haven for vehicles and storage, shielding them from external elements. The importance of a well-sealed garage door cannot be overstated, as it prevents weather intrusion, drafts, and pest infiltration while enhancing energy efficiency. With sustainability and cost-saving in mind, DIY garage door seal replacement has become increasingly popular. This comprehensive guide equips you with the necessary knowledge to undertake this project, covering types of garage door seals, required tools, installation steps, FAQs, and expert advice for optimal performance.

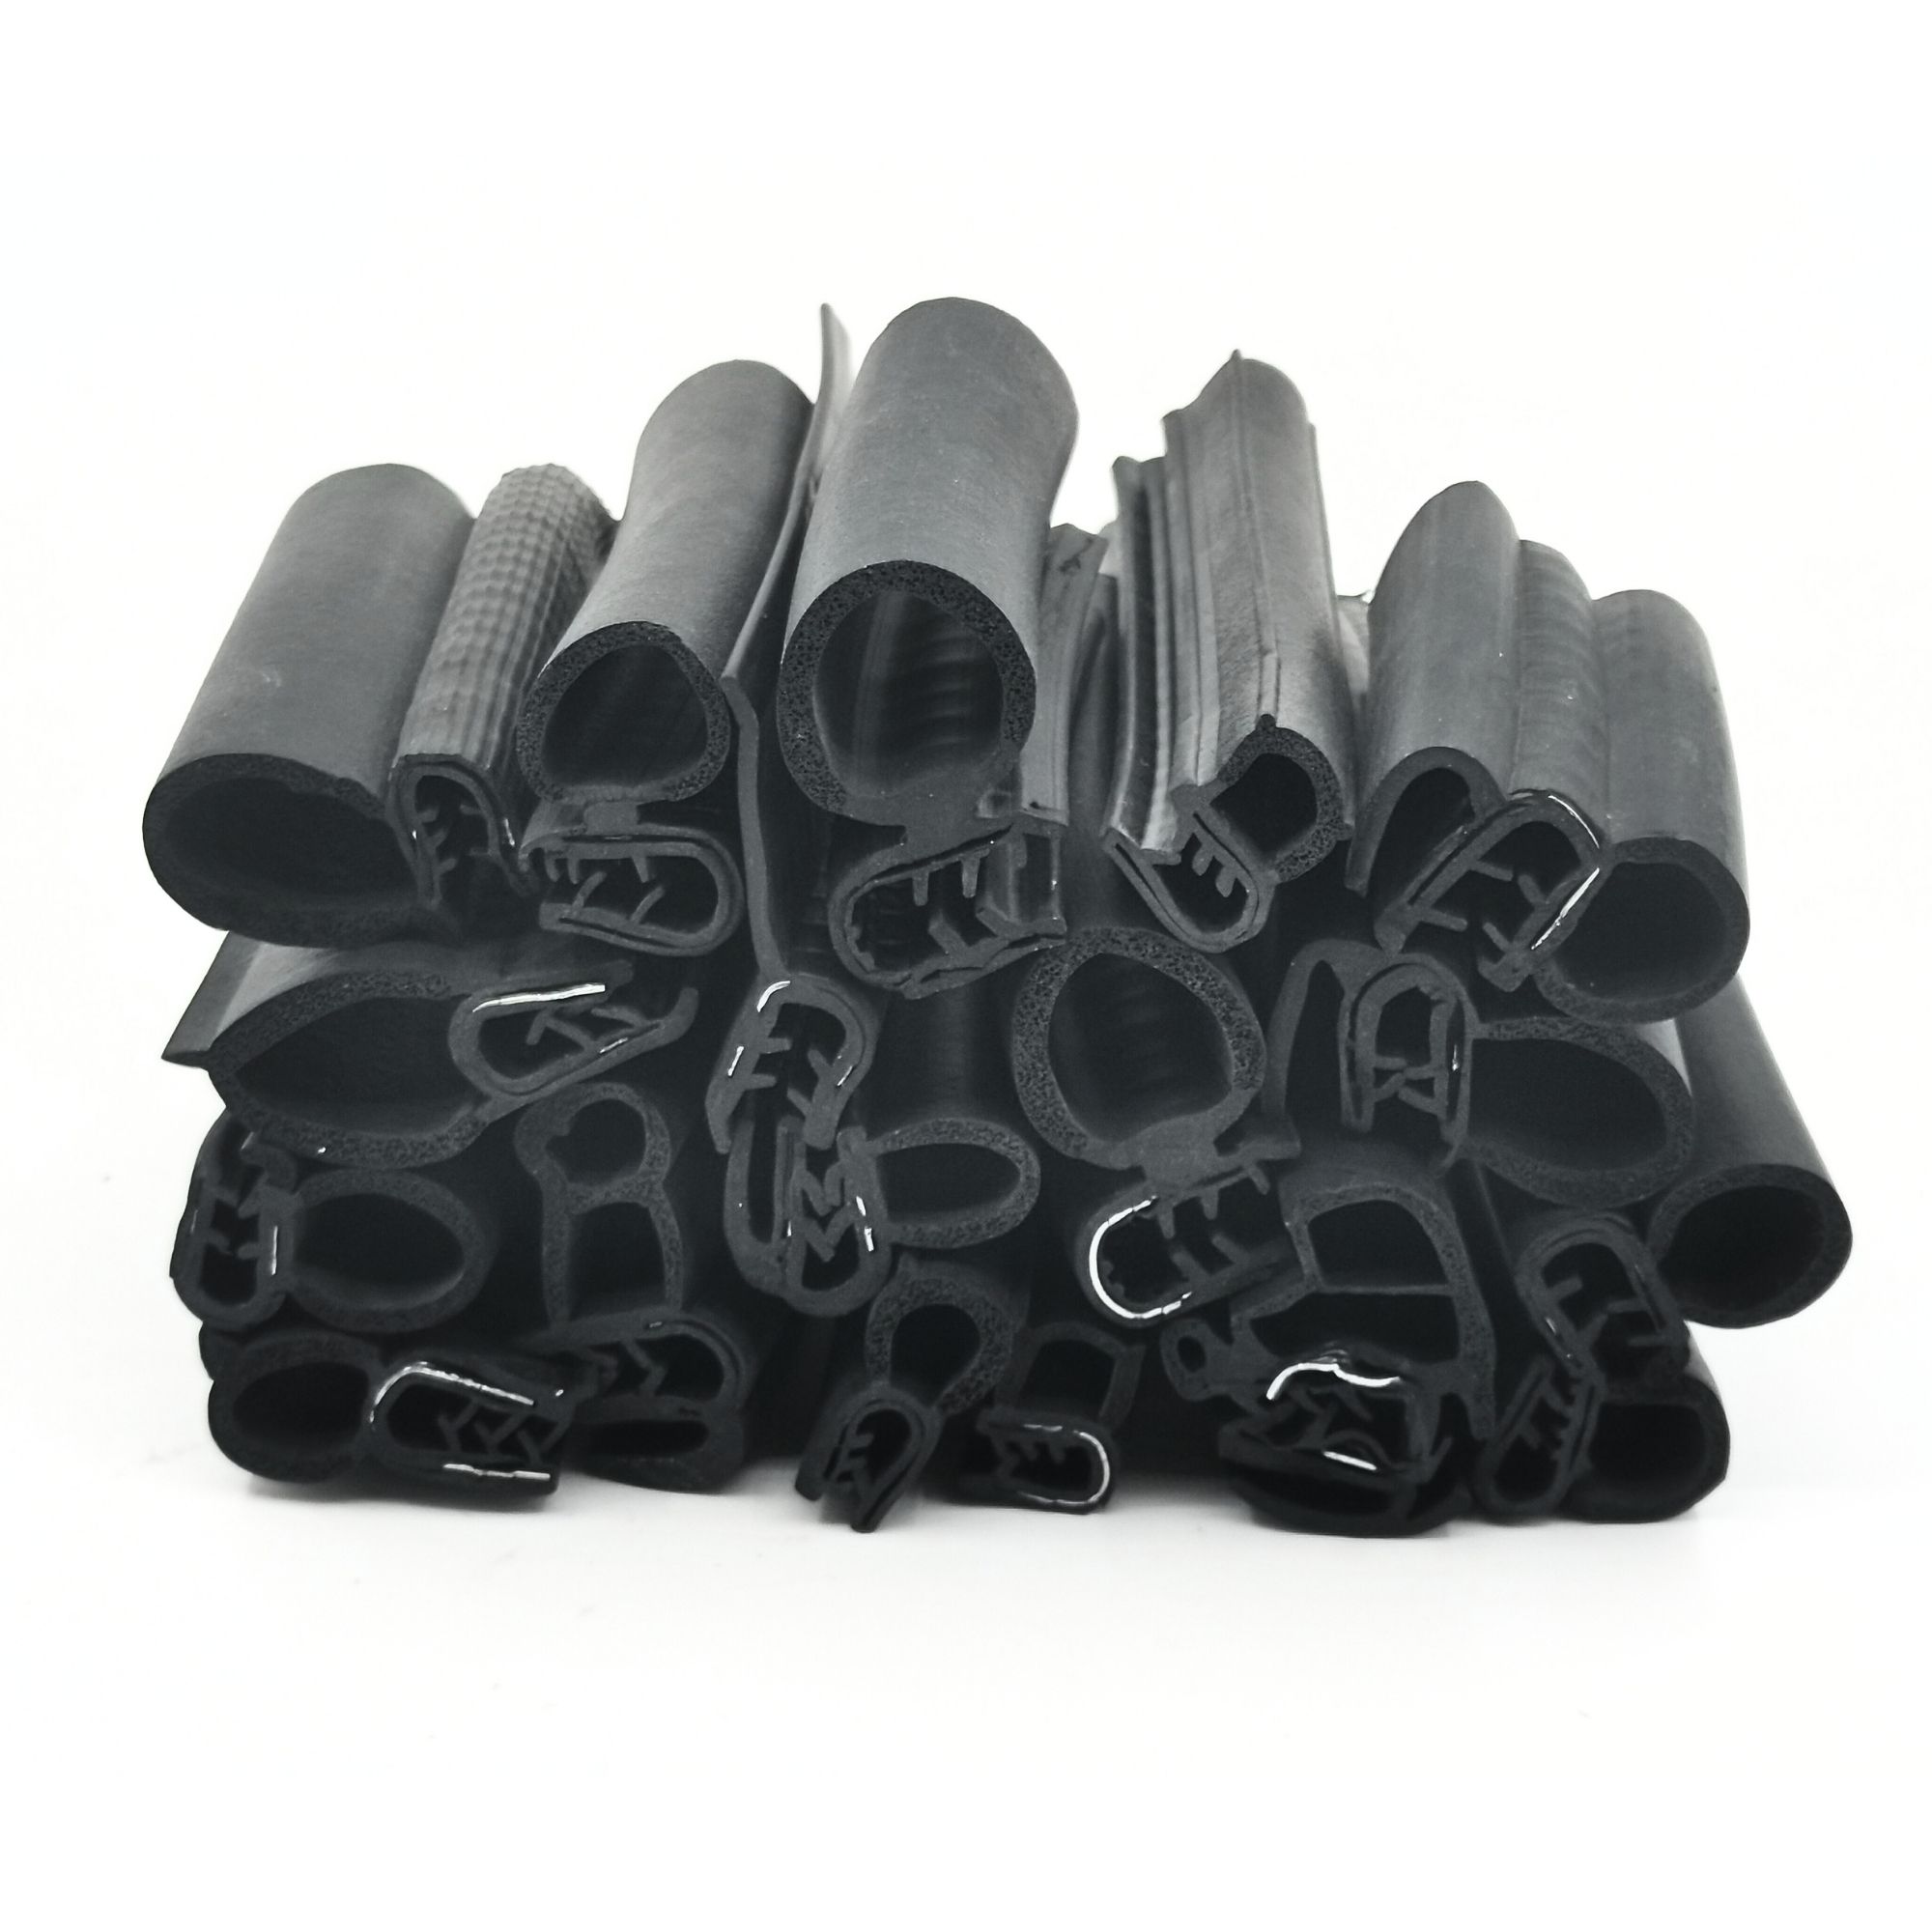
Types of Garage Door Seals:
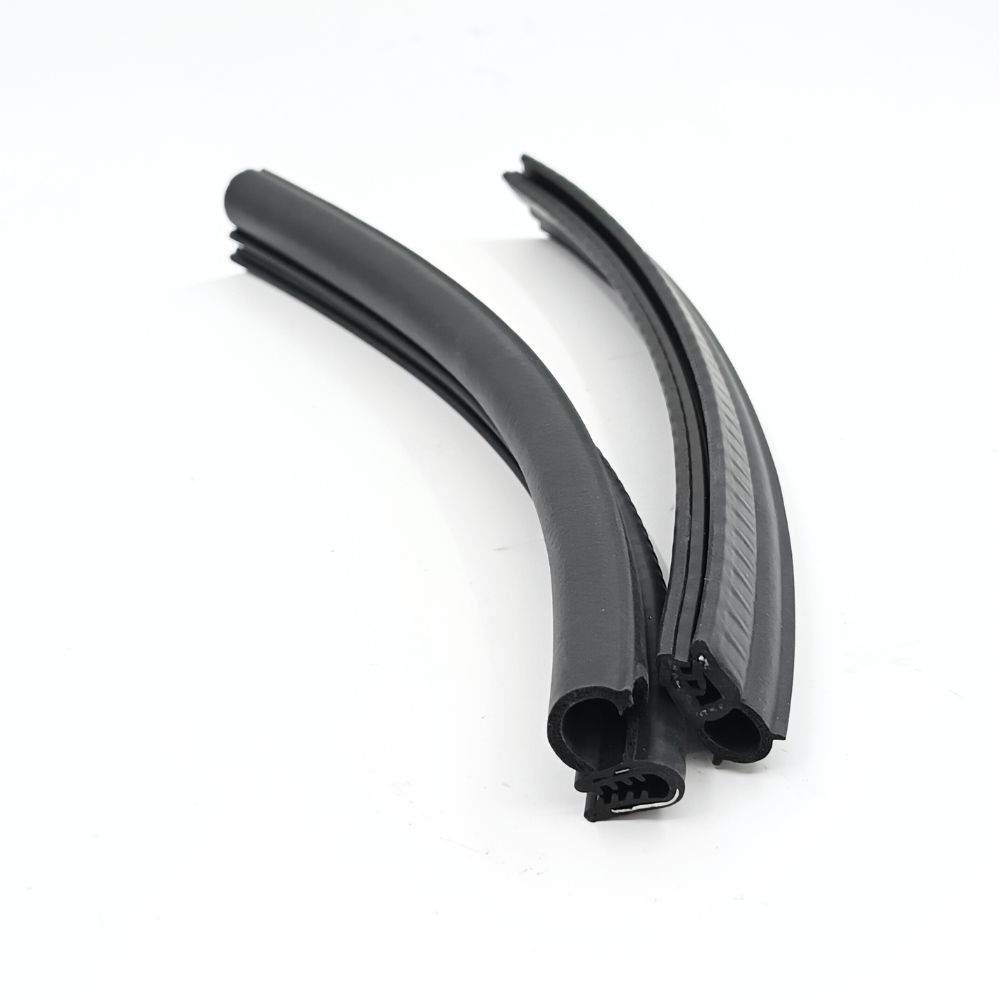
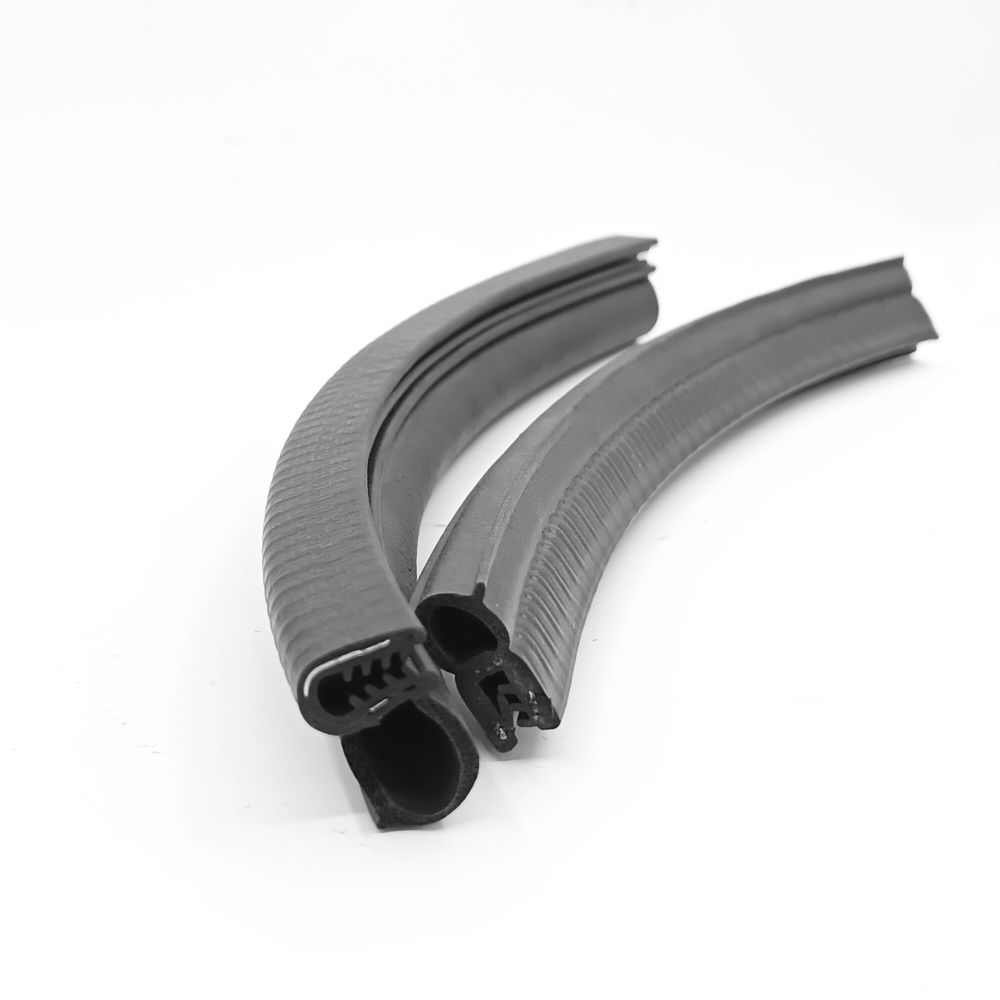
1. Garage Door Seals & Weather Stripping: Installed around the edges of the garage door, these seals create a barrier against rain, snow, and drafts, contributing to energy efficiency and maintaining a comfortable environment.
2. Garage Door Threshold Seals: Positioned at the bottom of the garage door, these seals provide an additional layer of defense against external elements, particularly beneficial in areas prone to heavy rainfall and flooding.
3. Garage Door Bottom Seal: Installed at the garage door's bottom, these seals prevent pests, debris, and drafts from entering, emphasizing frictional resistance for optimal performance.
Required Tools & Materials:
- Screwdriver: For removing existing seals and securing new ones.
- Hammer: Used for driving in nails or screws and applying pressure to adhesive seals.
- Prybar: Essential for safely and efficiently removing old or damaged seals.
- Measuring Tape: Ensures precise measurements for a snug fit.
- Adhesives or Fasteners: Choose between adhesive or screw installation based on seal materials and garage door type.
- Utility Knife: Used for cutting seal strips to size.
Choosing Suitable Weather Stripping Material:
- Rubber: Offers excellent durability and flexibility, with EPDM being a popular choice.
- Vinyl: Provides superior water resistance.
- Brush Strips: Suitable for areas not prone to water or snow infiltration.
Installation Steps:
1. Remove The Old Weather Stripping: Carefully detach existing weather stripping using a utility knife or prybar, ensuring the door frame is clean and free from residue.
2. Measure Garage Door Perimeters: Obtain accurate measurements using a measuring tape, allowing for an extra length for adjustment.
3. Cut The Seal Strips As Needed: Use a utility knife to cut new weather stripping to match the measurements taken, ensuring a proper fit.
4. Install The Seal Strips: Apply adhesive or secure with screws, ensuring a tight barrier against drafts and moisture.
5. Finishing Touches: Inspect for gaps or uneven sections, adjusting as necessary for proper alignment and adhesion.
Frequently Asked Questions (FAQs):
- How do I know if my garage door seal strip is bad?
- How do you seal the bottom of a garage door from water?
- How often should you replace the garage door seal?
Expert Advice:
- Schedule regular maintenance to check for wear and tear.
- Consult with experts to select the appropriate type of seal based on application, garage door type, and climate conditions.
- Follow manufacturer guidelines for proper installation.
- Replace garage door seals every 1-2 years or as recommended.
Conclusion:
Embark on your DIY garage door seal replacement project armed with knowledge and confidence. By understanding different seal types, acquiring necessary tools, and following proper installation techniques, you can enhance the efficiency and longevity of your garage door seals. Regular maintenance and timely replacements ensure optimal performance, contributing to a well-maintained garage system. For further assistance, consult with experts and adhere to manufacturer guidelines for the best results.
If you need anything, please contact us,Customized different size/color/shape silicone rubber hose, making molds depending on your samples or drawings. FREE SAMPLES can be sent for your evaluation!
Over 20 years Professional Experience in Auto Accessories Field


 IPv6 network supported