
What Are You Looking For?
Feeling a chill creeping into your home? It might be time to freshen up your weather stripping. Not only does this simple exterior door maintenance boost your comfort, but it also trims your energy costs. And the best part? You don't need to be a pro to tackle it. Here’s a quick guide on swapping out worn weather stripping around doors in just 30 minutes.
Prepping for Weather Stripping Replacement
Before diving in, check your weather stripping and tighten any loose hinges. Ensuring that your weather stripping—not loose hinges—is the culprit behind drafts is key. If you can lift your door by the knob, those hinges might need some attention.
Once hinges are ruled out, grab your measuring tape. Close the door and measure the areas along the door jambs where you’ll install the new weather stripping. Pay attention to both width and length, especially for thicker weather stripping needed for garage doors.
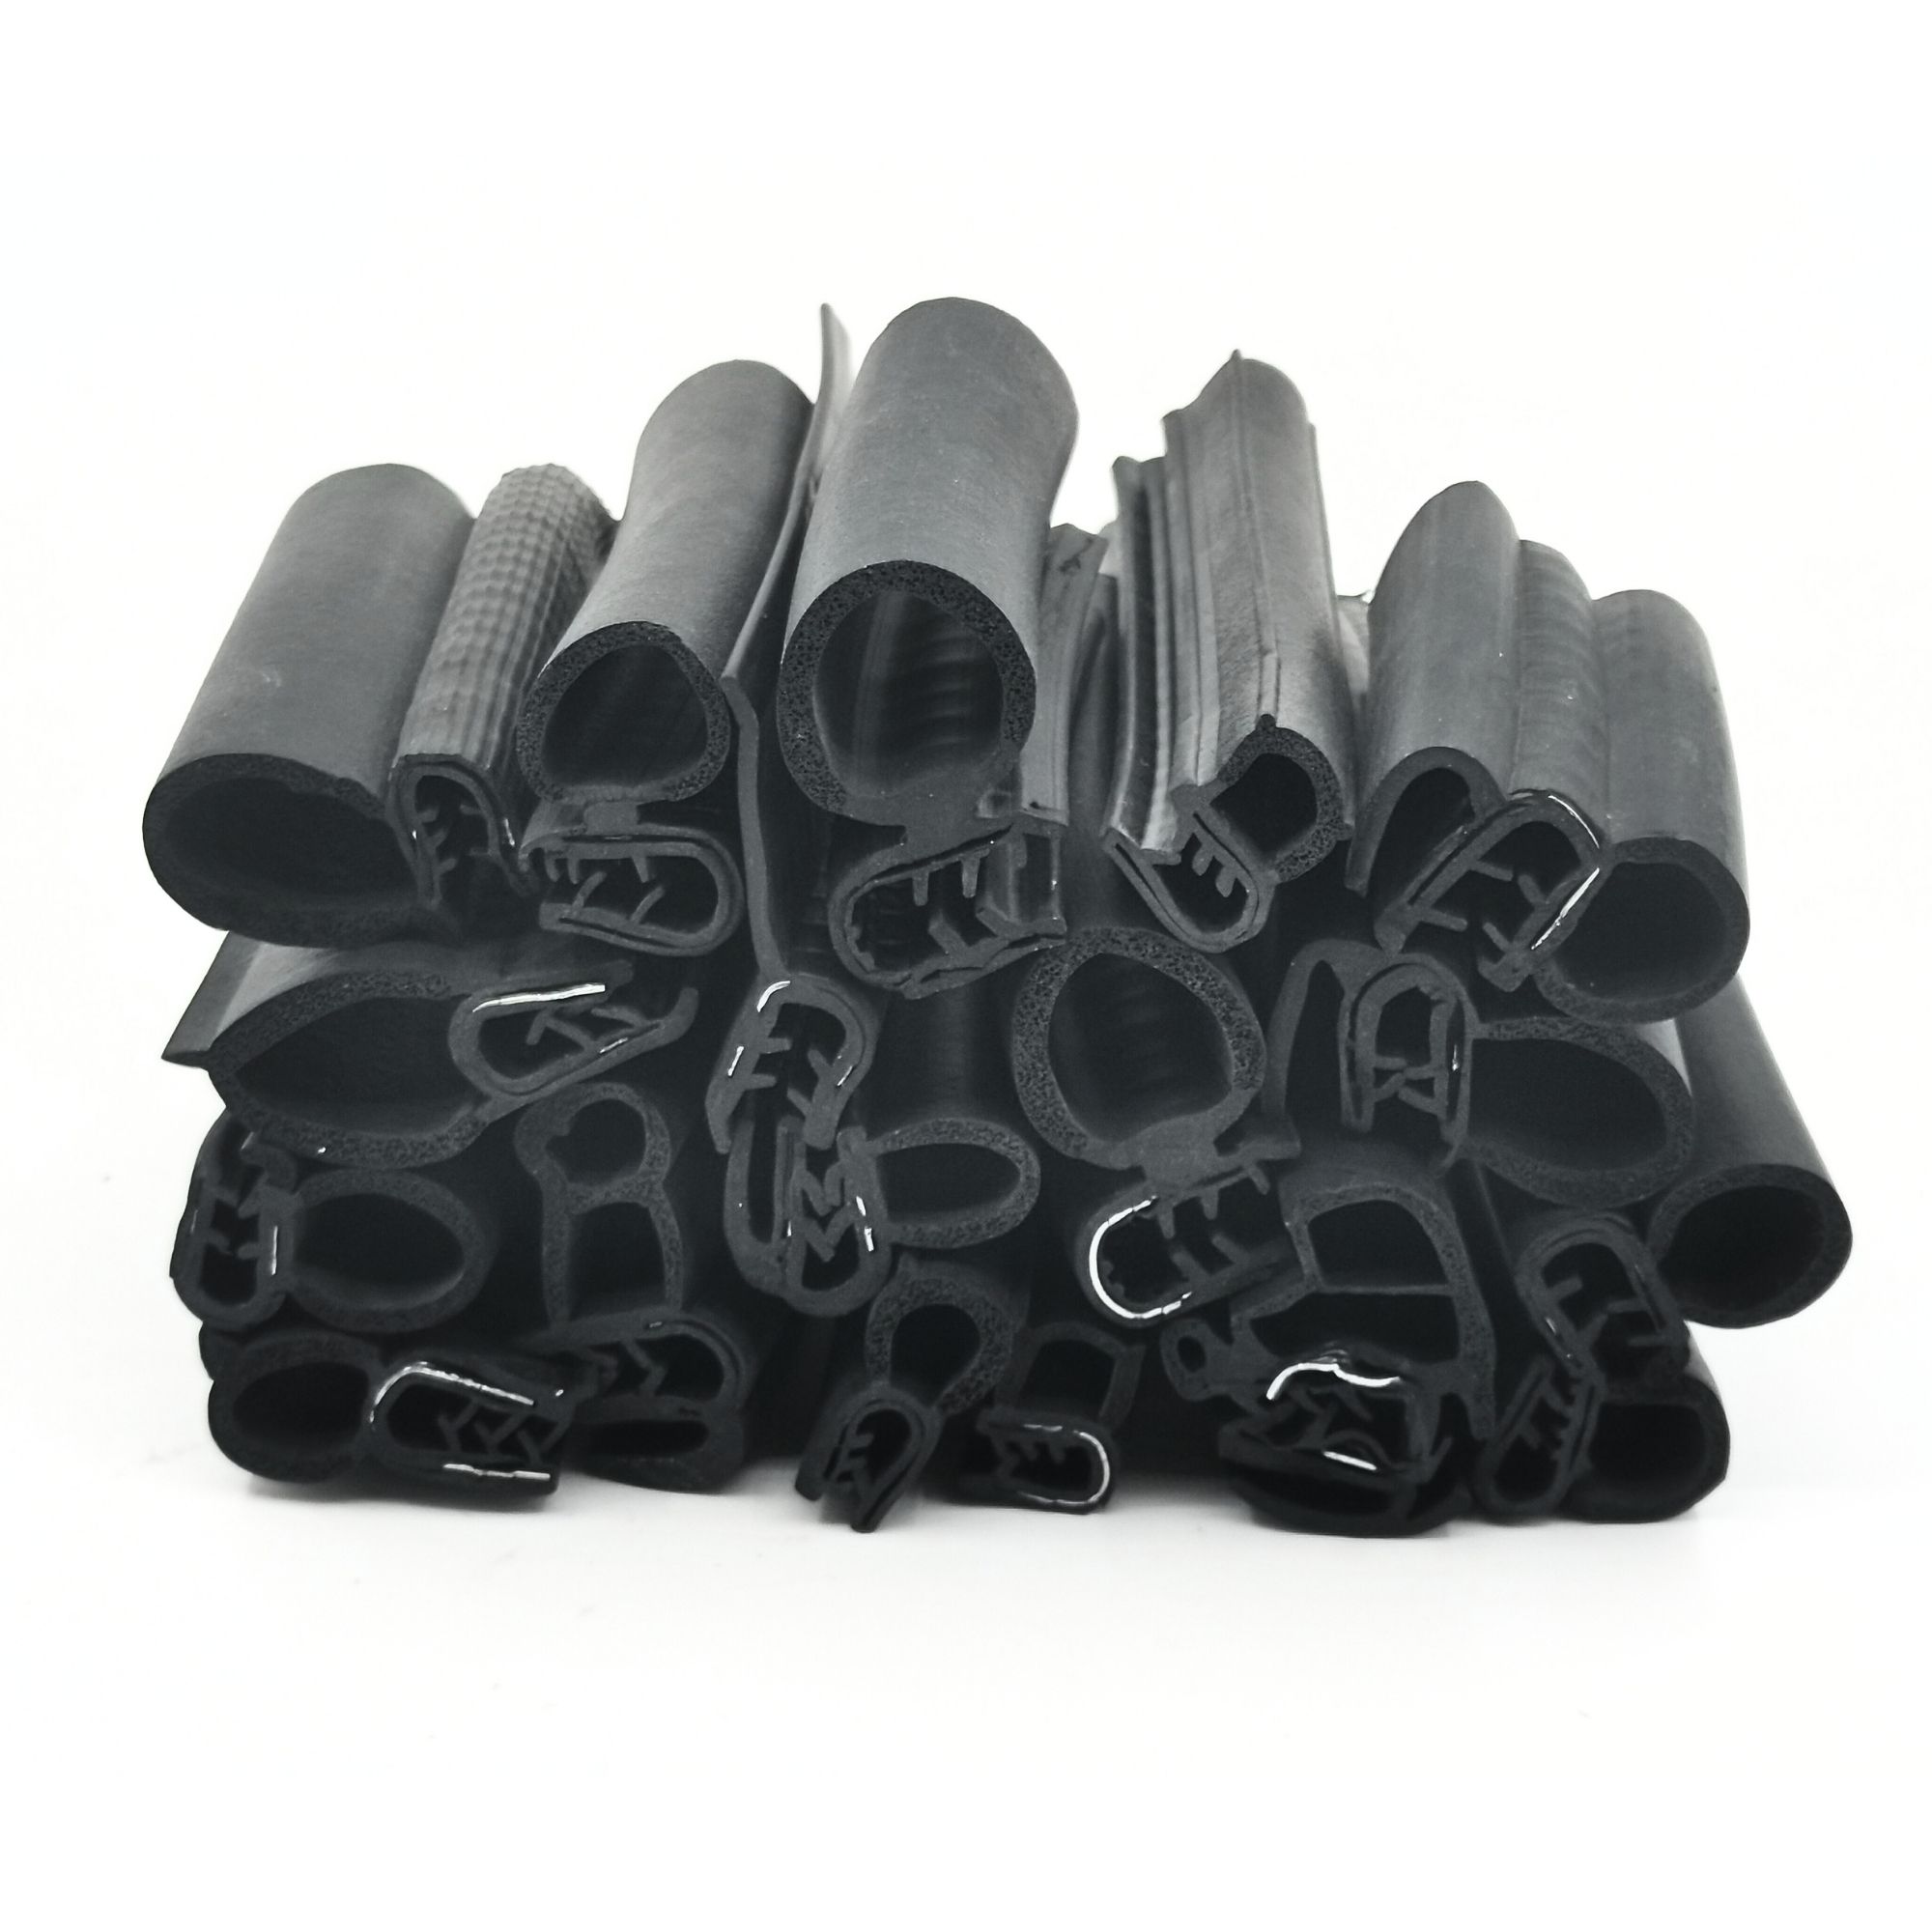
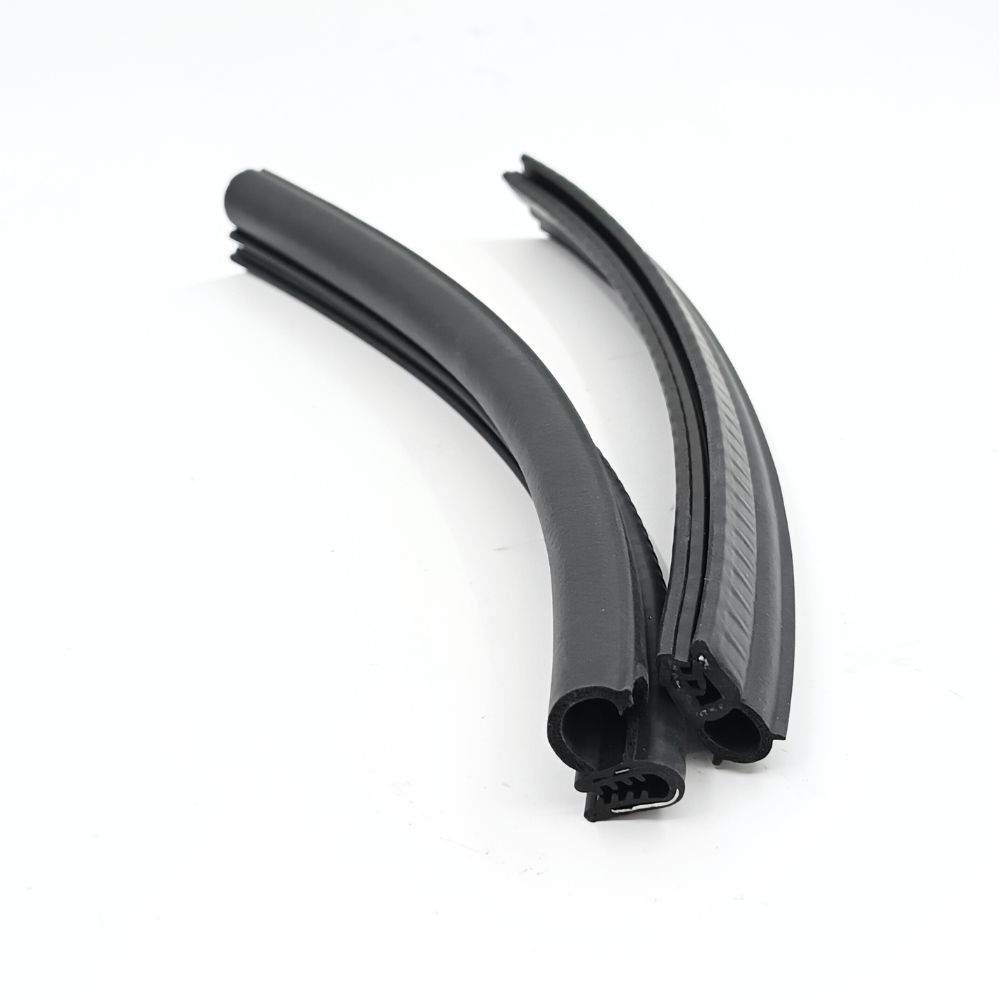
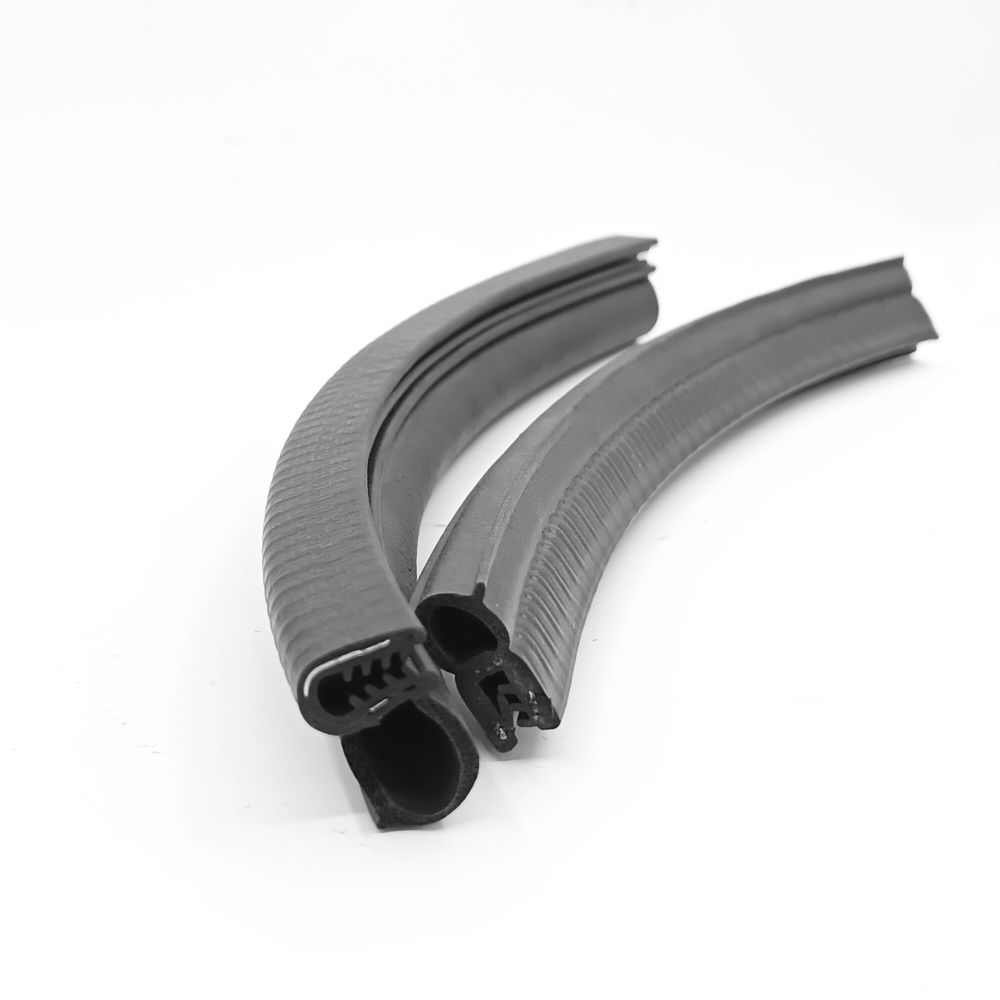
If you need anything, please contact us,Customized different size/color/shape silicone rubber hose, making molds depending on your samples or drawings. FREE SAMPLES can be sent for your evaluation!
Over 20 years Professional Experience in Auto Accessories Field
If unsure, you can measure the existing weather stripping for reference unless it's significantly degraded. Door sweeps, which go at the bottom, usually come in standard sizes. After measuring, add an extra 10 inches to the length for flexibility.
Choosing Weather Stripping
Weather stripping comes in various types, but self-adhesive options are popular due to their ease of installation. However, material choice matters.
Felt or foam varieties, like foam tape, are easy to use but may lack durability, especially for exteriors. For external use, opt for stronger options like self-adhesive v-seal or tension seal weather stripping made from vinyl, bronze, aluminum, or stainless steel. Rubber offers excellent durability but might require nailing, which can be tricky without professional help.
When purchasing, consider:
Where it will be installed
Desired durability
Budget
Climate
Remove Old Weather Stripping and Clean
Remove old weather stripping either by hand or by unscrewing or removing nails. If it's stubborn, a putty knife can help lift it.
Clean the Area
Weather stripping tends to gather dirt, so clean the area with soapy water and a sponge. Dry thoroughly with a rag or towel.
Cut Your Weather Stripping
Cut three pieces to fit around your door:
One for the horizontal jamb (top of the frame)
Use scissors to cut to size, leaving a bit extra for fine-tuning. It's better to have too much than too little. Hold up each segment to check sizing.
Install the Weather Stripping
Peel off the adhesive backing and stick the weather stripping onto the corresponding door jamb. Trim any excess and firmly press down to ensure adhesion. For added security, use a staple gun or small nails.
Install the Door Sweep
Door sweep weather stripping goes on the bottom of the door. Some are adhesive; others need to be screwed in. Ensure a tight seal along the threshold to prevent drafts.
DIY vs. Hiring a Pro
You can save over $100 by doing it yourself, especially with self-adhesive weather stripping. But for trickier installations like tubular rubber, consider hiring a local handyperson. If it's more than just one door, it might be worth having a professional weatherize your whole home.


 IPv6 network supported