
What Are You Looking For?
Draught-proofing your front door is indeed a practical and cost-effective way to improve energy efficiency and overall comfort in your home. Here's a step-by-step guide on how to draught-proof a front door using door draught seals:
Materials Needed:
Door draught excluder (also known as a door sweep or door bottom seal)
Self-adhesive draught-proofing strips or brush strips
Draught excluder tape or foam tape
Screwdriver
Scissors or utility knife
Steps to Draught-Proof Your Front Door:
Identify Draught Sources: Before starting, inspect your front door for any gaps or spaces where draughts may enter. Common areas include the bottom of the door, around the frame, and along the edges.
Install a Door Draught Excluder: Measure the width of your door and cut the door draught excluder to fit. This typically involves attaching a strip of weatherproof material to the bottom of the door. Ensure that the excluder is positioned snugly against the threshold to prevent draughts from seeping in.
Apply Self-Adhesive Draught-Proofing Strips: Use self-adhesive draught-proofing strips or brush strips to seal any gaps between the door and the frame. Measure the length needed for each side of the door frame and cut the strips accordingly. Peel off the adhesive backing and press the strips firmly into place along the edges of the door frame.
Seal Larger Gaps with Draught Excluder Tape: For larger gaps or irregular spaces, use draught excluder tape or foam tape. Cut the tape to the required length and apply it to the gaps around the door frame. Press firmly to ensure a tight seal.

Check for Proper Seal: After installing the draught-proofing materials, close the door and check for any remaining gaps or draughts. Make adjustments as necessary to ensure a tight seal.
Test for Effectiveness: To test the effectiveness of your draught-proofing efforts, you can use a candle or an incense stick. Hold it near the edges of the door and frame while the door is closed. If the flame flickers or the smoke moves, there may still be gaps that need to be sealed.
By following these steps, you can effectively draught-proof your front door and enjoy the benefits of improved energy efficiency, comfort, and sound reduction in your home. Regular maintenance and inspections can help ensure that your draught-proofing remains effective over time.
Draught excluders come in various types, each designed to address specific gaps or areas of your front door where draughts may be entering. Here's a breakdown of the different types of draught excluders for doors and how to stop draughts from coming through your front door:
1. Brush Door Draught Excluder:
Ideal for gaps under the door.
Consists of a sturdy, thick bristle brush strip that attaches to the bottom of the door.
Provides a long-term solution for preventing draughts from entering underneath the door.
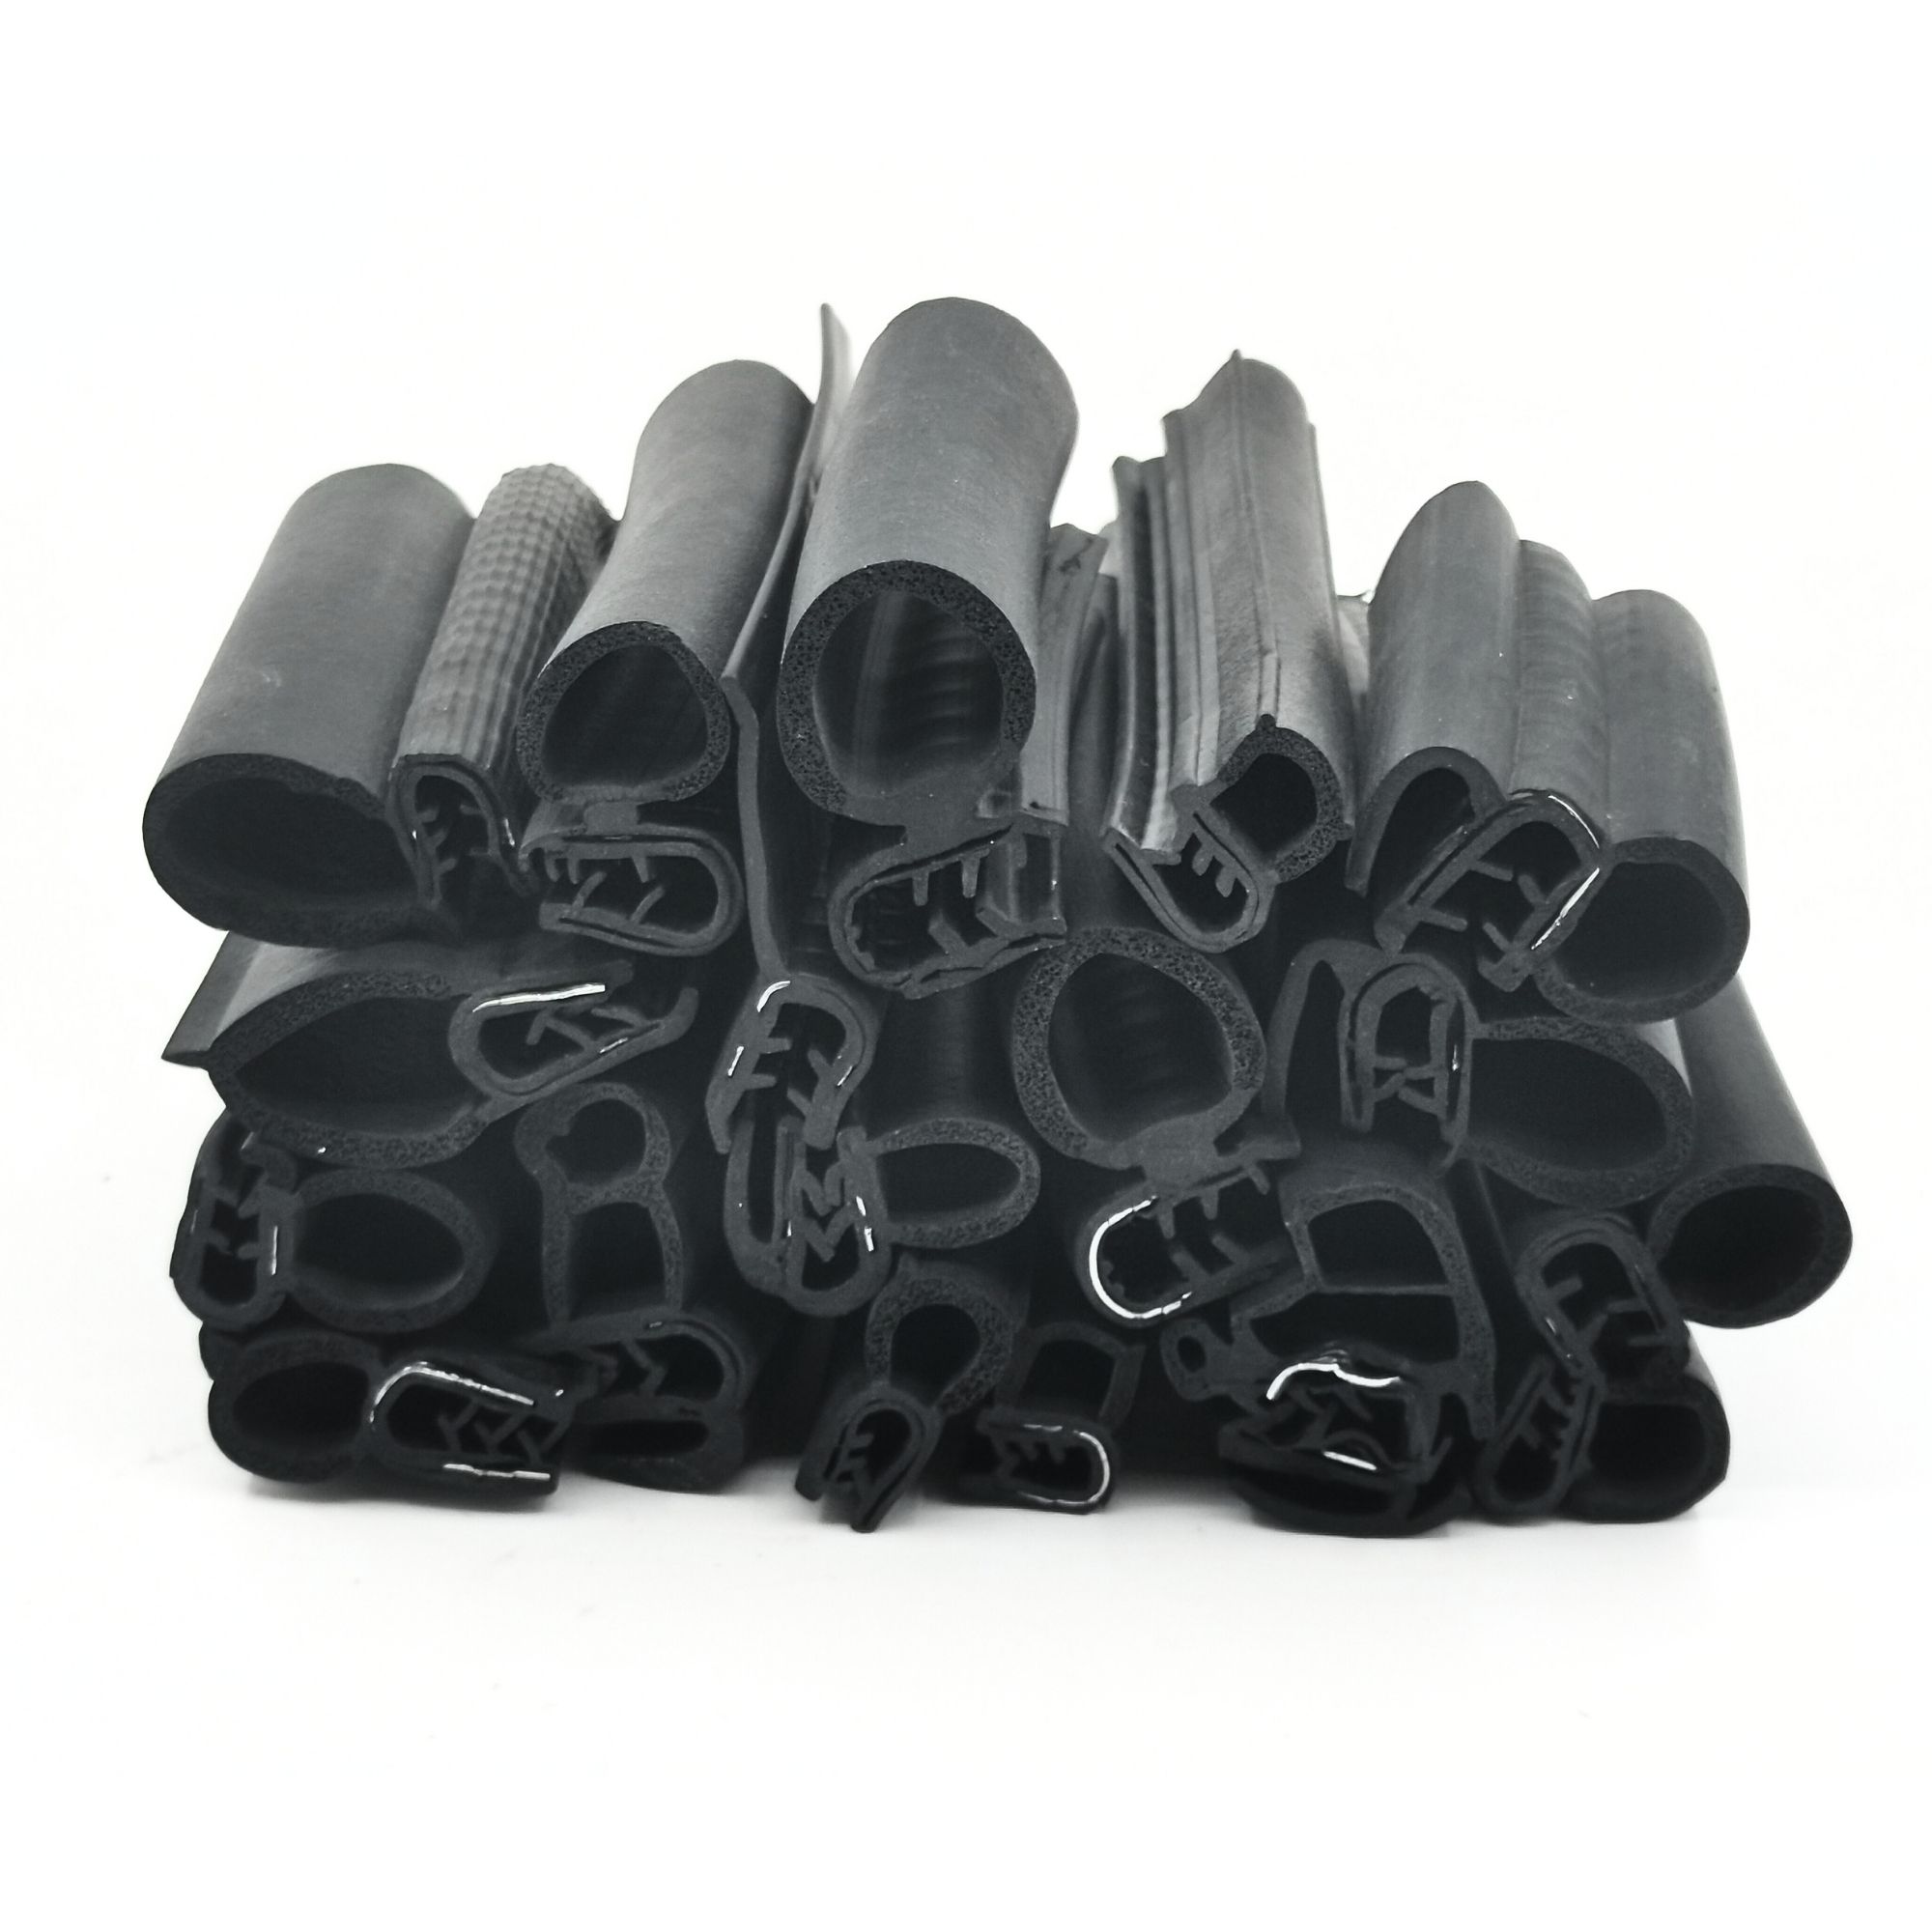
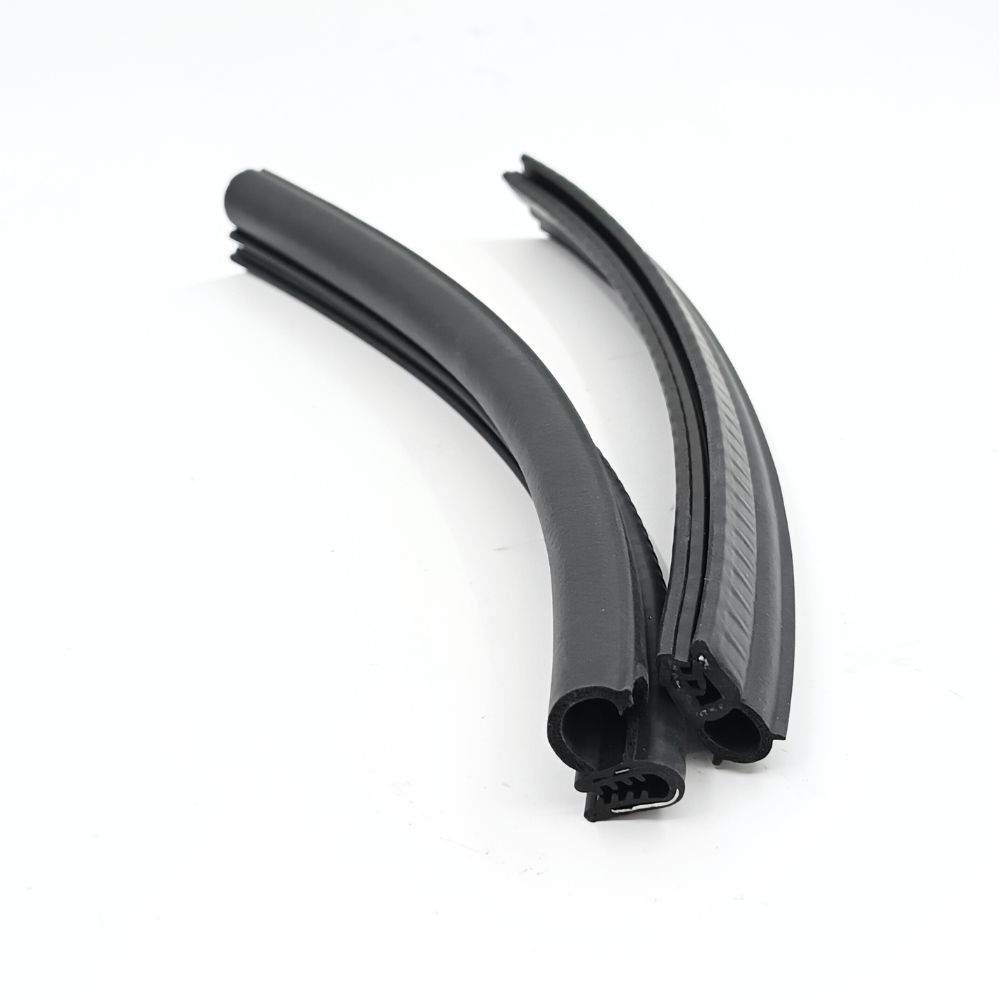
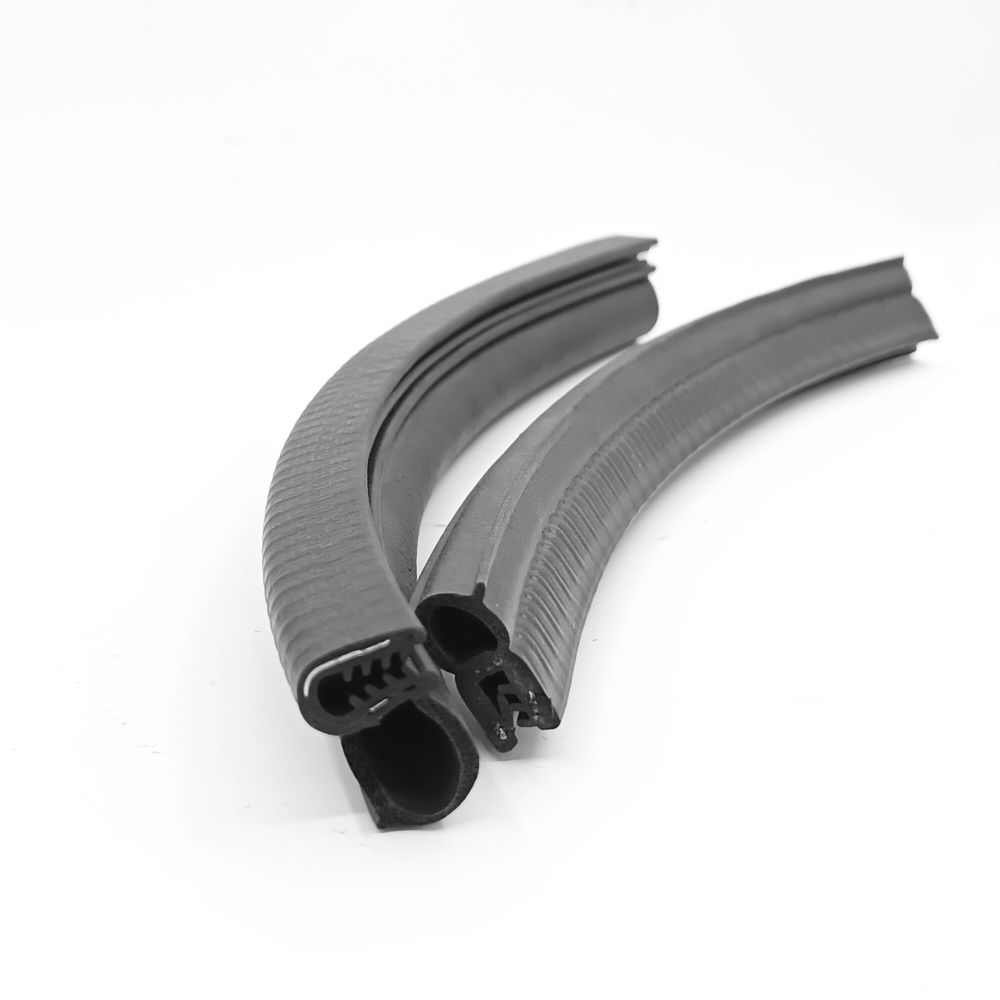
2. Door Draught Seals (Draught Strips or Weatherstrips):
Suitable for gaps around the side and top of the door.
Easy-to-install fix to prevent warm air from escaping.
Can be cut to size for small gaps and can also help in keeping rain out during bad weather.
3. Door Gaskets:
Effective for sealing the perimeter of the front door.
Helps in keeping out draughts, as well as reducing sound and light infiltration.
Typically made of rubber and easy to install without professional assistance.
How to Stop Draughts From Coming Through Your Front Door:
Step 1: Identify Where The Gaps Are Coming From:
Check around the door frame, including the top, sides, and bottom, for any gaps between the door and the frame.
Inspect the threshold for gaps between the bottom of the door and the threshold.
Examine the letterbox and keyhole for potential draught entry points.
Step 2: Choose The Right Draught Sealing Products:
Select the appropriate draught excluder based on the location of the draught and the size of the gap.
Use draught excluder brush strips for gaps under the door, door draught seals for gaps around the perimeter, and threshold seals for large gaps under the door.
Step 3: Apply The Draught Proofing:
Follow the instructions provided with each product carefully.
Clean the surface before applying the draught proofing material.
Cut the material to the required size and fix it securely in place.
Step 4: Test Your Draught Excluder:
Close the door and check for any remaining draughts.
Make adjustments to the draught proofing or add additional layers if necessary.
Additional Door Draught Proofing Tips:
Consider adding seals to other external doors and windows for maximum energy savings.
Invest in high-quality draught sealing products for better durability and performance.
Check the alignment and hinges of your door for proper closure, and consider replacing the front door if misalignment worsens draught problems.
By following these steps and tips, you can effectively draught-proof your front door and improve energy efficiency and comfort in your home.
If you need anything, please contact us,Customized different size/color/shape silicone rubber hose, making molds depending on your samples or drawings. FREE SAMPLES can be sent for your evaluation!
Over 20 years Professional Experience in Auto Accessories Field


 IPv6 network supported