
What Are You Looking For?
Your home’s windows serve as a crucial barrier against the elements, and one of the keys to maintaining their efficiency is the window seal. Over time, UPVC window seals, also known as window gaskets, can deteriorate, leading to drafts, condensation, and reduced energy efficiency. Replacing window seals is a relatively simple and cost-effective DIY project that can make a significant difference in your home’s comfort and energy bills. In this guide, we’ll tell you how to tell if a window seal is broken and everything you need to know about window gasket replacement.

Understanding UPVC Window Seals
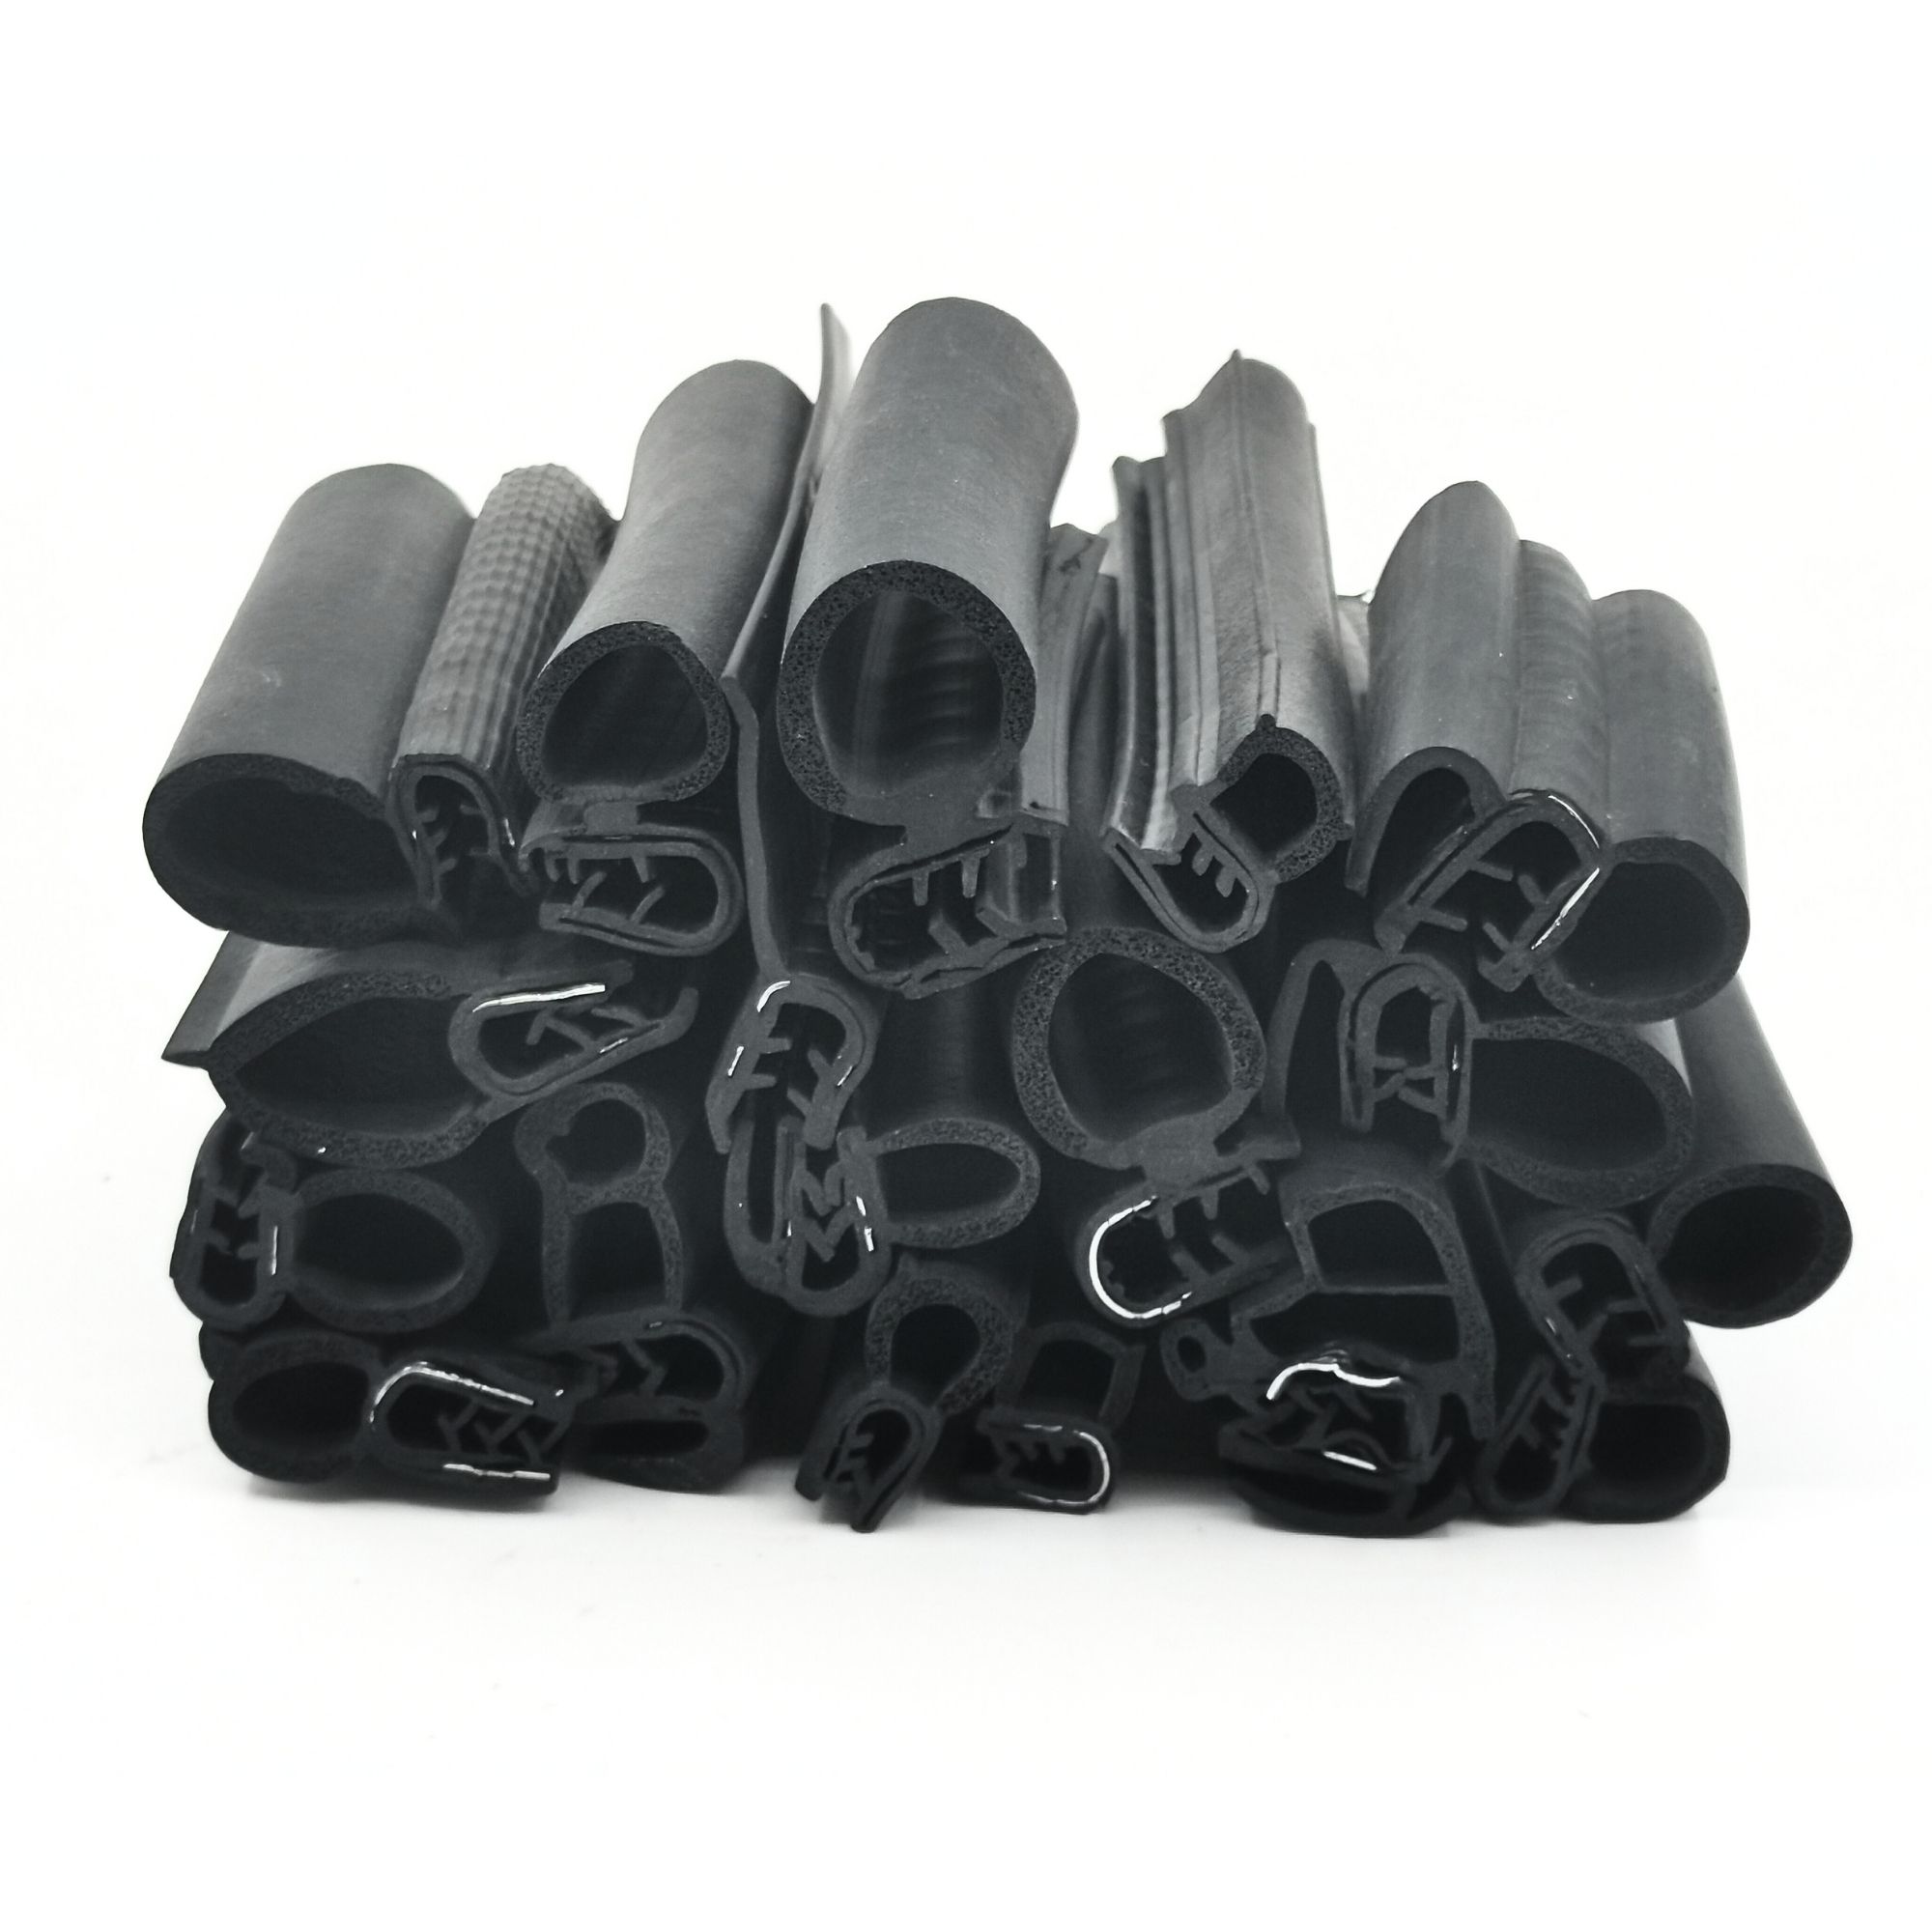
The UPVC windows in your home are known for their durability and energy efficiency. The seals on these windows, usually made of rubber, play a vital role in maintaining their performance. New window seals are flexible and will retain their shape after being compressed by the window. These seals create an airtight barrier that prevents draughts and moisture from seeping into your home.
As time goes by, UPVC window seals may wear out, crack, or lose their elasticity due to exposure to the elements and general wear and tear. When this happens, it’s essential to fix window seals to maintain the energy efficiency of your windows.
How to Tell if a Window Seal is Broken?
Recognizing a broken window seal is crucial for maintaining the energy efficiency of your home. Here are some common signs that can help you determine if a window seal is compromised:
Condensation Between Panes
One of the most noticeable signs of a broken window seal is the presence of condensation or fogging between the two panes of glass in a double-glazed window. This occurs when the seal that holds the air between the panes fails, allowing moisture to enter. When this happens, it’s time to reseal double-glazing.
Draughts or Air Leaks
If you feel draughts or air leaks around the window frame, it’s a strong indicator that it’s time for UPVC window seal replacement. Hold your hand near the edges of the window and check for any noticeable temperature differences.
Visible Cracks and Damage
Inspect the window frame and seals for any visible cracks, gaps, or damage. Cracked or deteriorating seals can allow air and moisture to enter, which will affect the window’s insulating properties.
Water Stains or Mould
If you notice water stains or mould on the window frame or adjacent wall, it could be a sign of a broken window seal. Window rubber seal replacement will stop moisture from entering through the compromised seal, which can lead to water damage and mould growth over time.
Increased Energy Bills
A sudden increase in your heating bills may indicate that your windows are no longer providing proper insulation. If you rule out any issues with your windows, then it’s also worth looking at your window gaskets. Damaged window seals can lead to reduced energy efficiency, causing your heating system to work harder to maintain the desired temperature.
Difficulty Opening or Closing
If you find it increasingly difficult to open or close the window, it could be due to broken window seals. Warped or damaged seals may affect the window’s operation.
Visible Seal Deterioration
Inspect the UPVC window seals for signs of deterioration. Seals are typically made of rubber that can degrade over time. Look out for cracked, peeled, or flattened seals or other signs of wear and tear.
Increased Sound Transmission
Can you hear external noises louder than before? If you notice that noises from outdoors penetrate your windows more easily than before, it may indicate a compromised window seal. Resealing double-glazed windows can increase their ability to block sound.
How to Replace Window Seals
When it comes to replacing window gaskets, the task is easier than you might think. Before you start, you’ll need a few supplies to ensure your replacement window seals are fitted properly:
A pair of scissors
A clean cloth
Soapy water
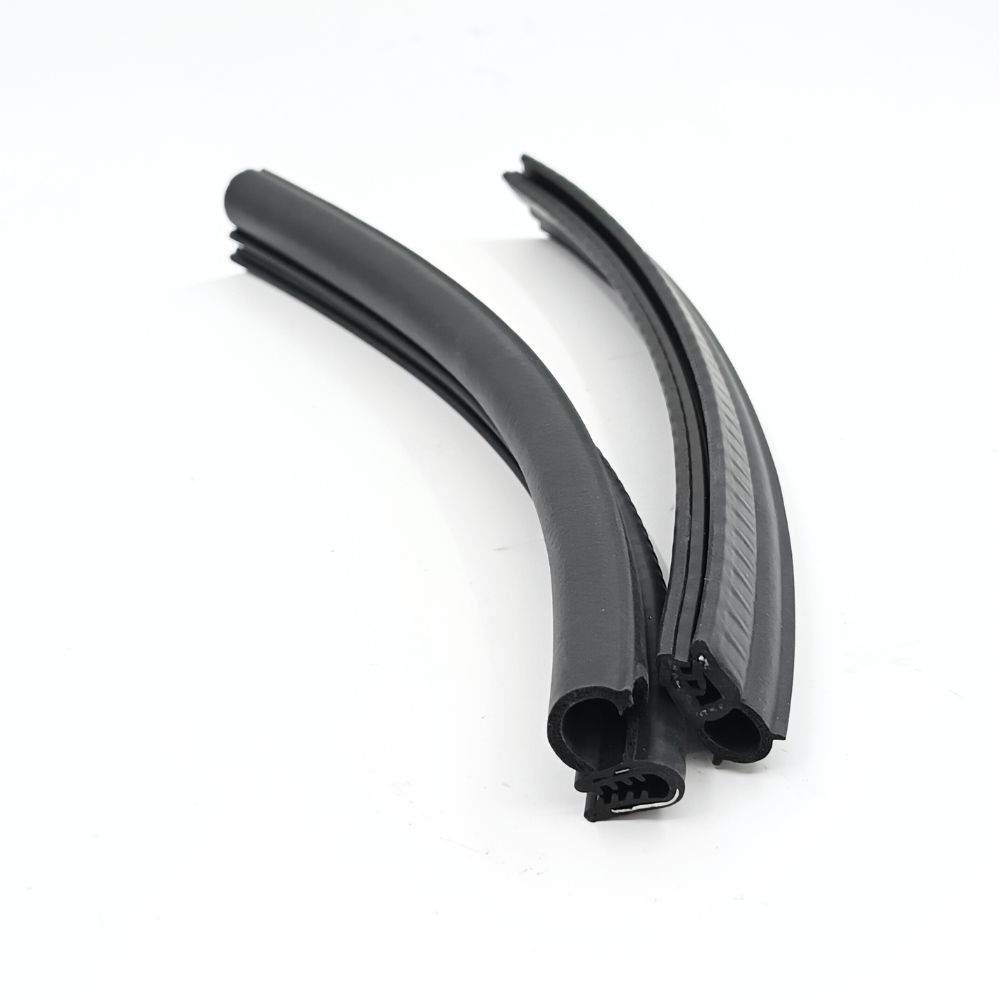
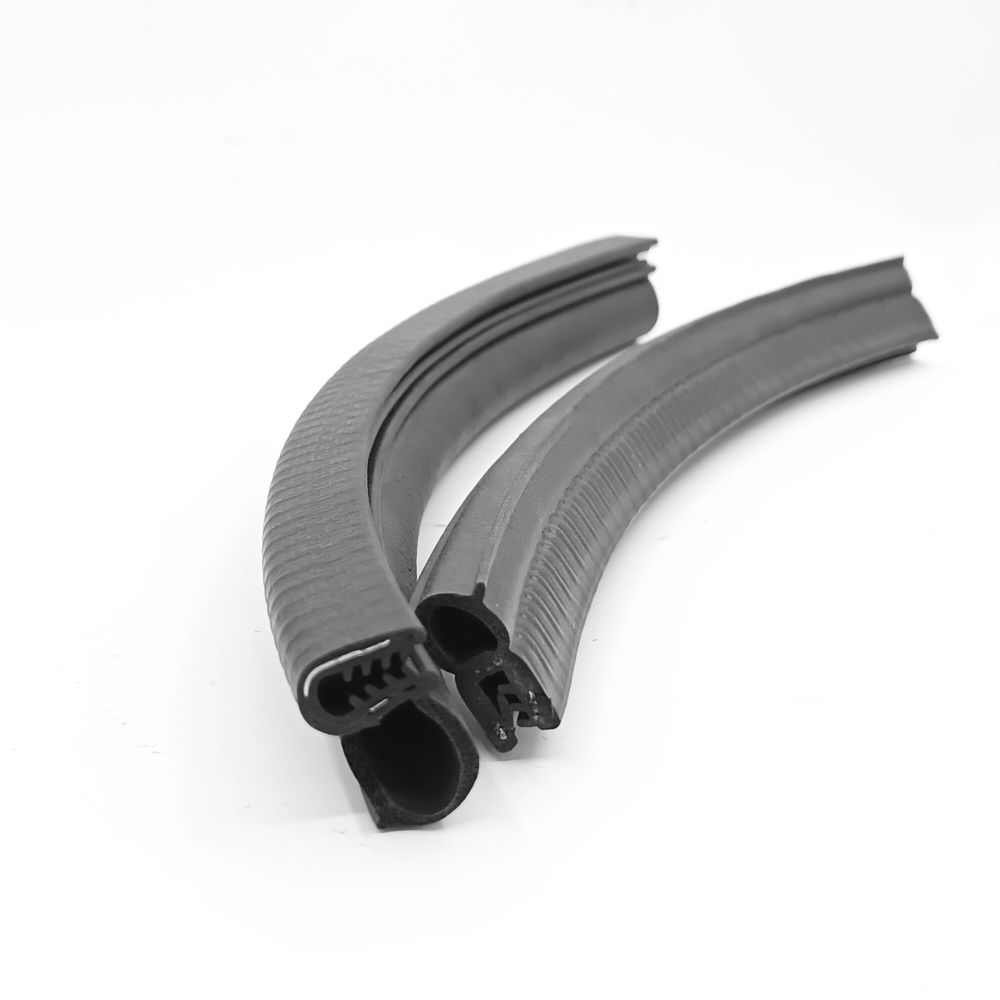
A high-quality replacement window gasket. Be sure to select the correct window seal for your home.
Remove the Existing Window Gasket
Carefully peel away the old window seal. Be cautious not to damage the window frame during the process. If the old seal is stubborn or deteriorated, take your time to remove it without causing any damage to the window frame.
Clean the Window Frame
Using a damp cloth and soapy water, clean around the window to remove any dirt, grease, and debris. Ensure the area is clean and dry before applying the new gasket.
Installing the New Seal
Starting at the top and center of the window, begin squeezing the seal into place along the top and down the sides of the window frame. Continue working your way along the window right up to the starting point. Cut the seal so there is no gap between the start and the end of the seal.
Test for Effectiveness
You can perform a simple test to ensure the effectiveness of your new window gasket. Close the window and check for any draughts, moisture, or gaps. If you notice any issues, double-check your seal to be sure that it is fitted correctly.
If you need anything, please contact us,Customized different size/color/shape silicone rubber hose, making molds depending on your samples or drawings. FREE SAMPLES can be sent for your evaluation!
Over 20 years Professional Experience in Auto Accessories Field


 IPv6 network supported