A Comprehensive Guide to Automotive Weatherstripping: Types, Benefits, and Installation Tips
September 11, 2024
Automotive weatherstripping is a crucial component in your vehicle’s sealing system, designed to keep out water, dust, and noise while enhancing the overall comfort of your ride. This often-overlooked part of your vehicle ensures that your car remains airtight, improving insulation and protecting interior components. In this guide, we’ll explore different types of weatherstripping, their benefits, and provide a detailed installation guide to help you maintain a well-sealed vehicle.
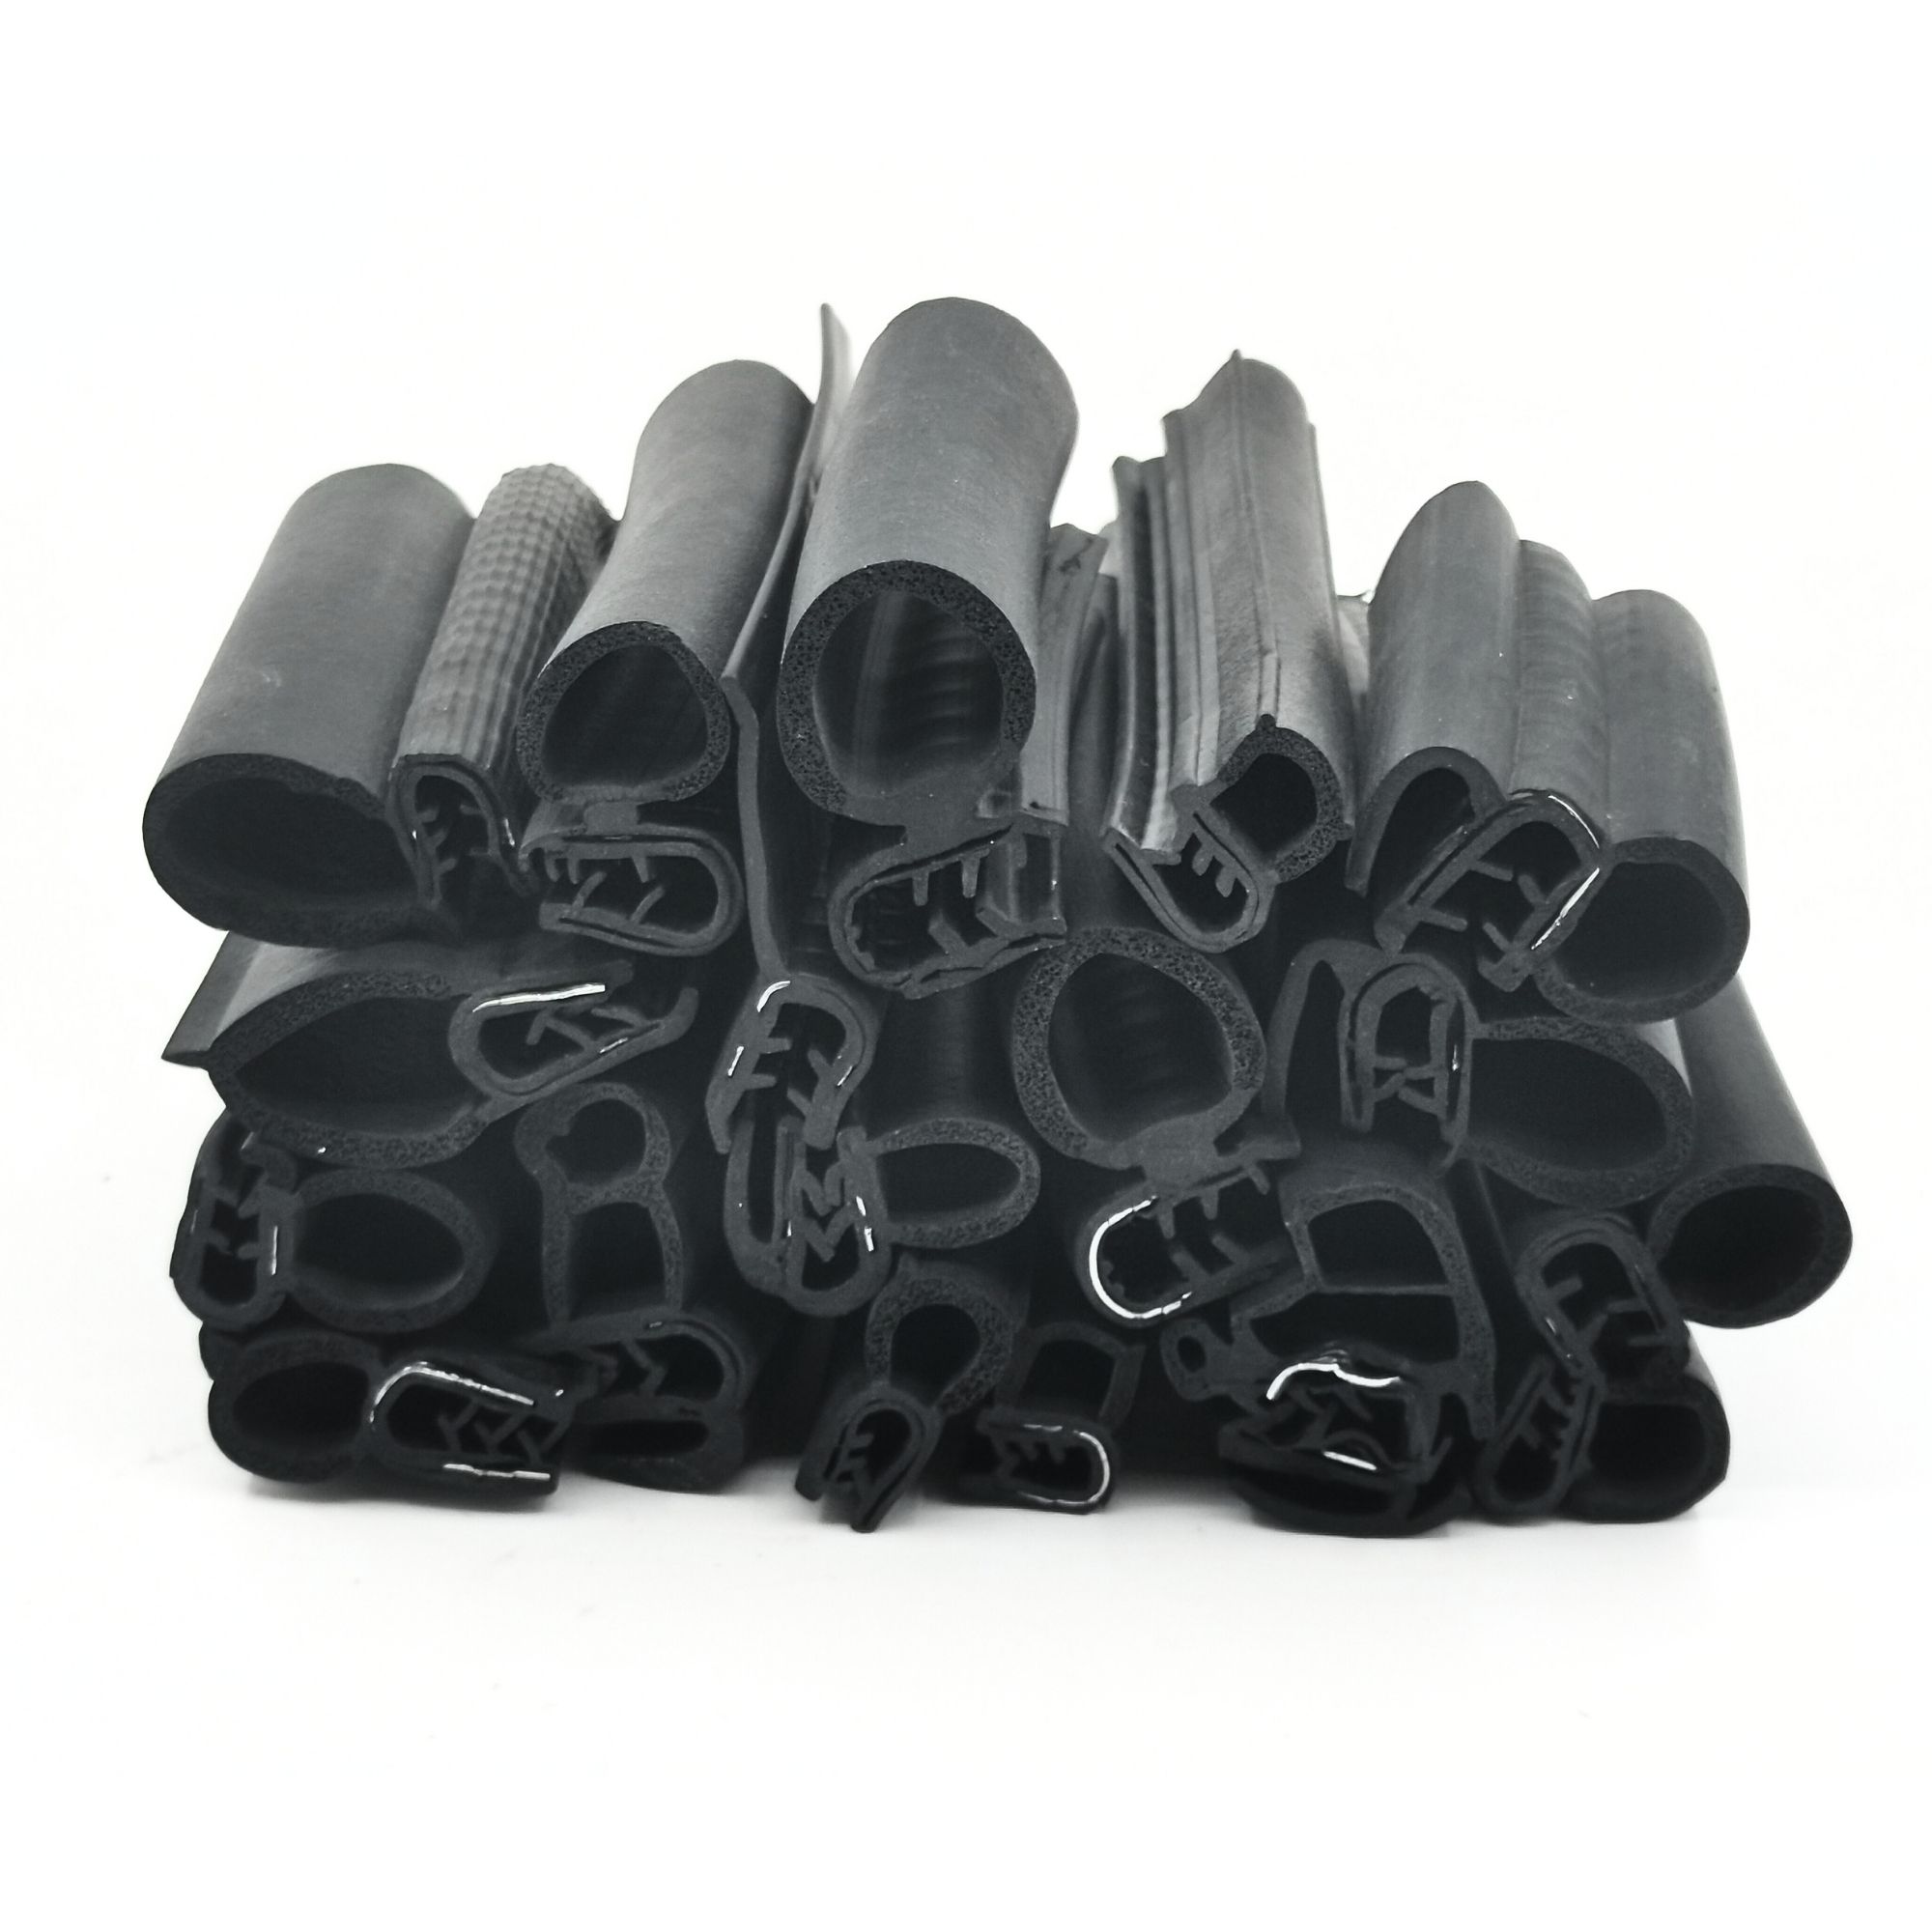
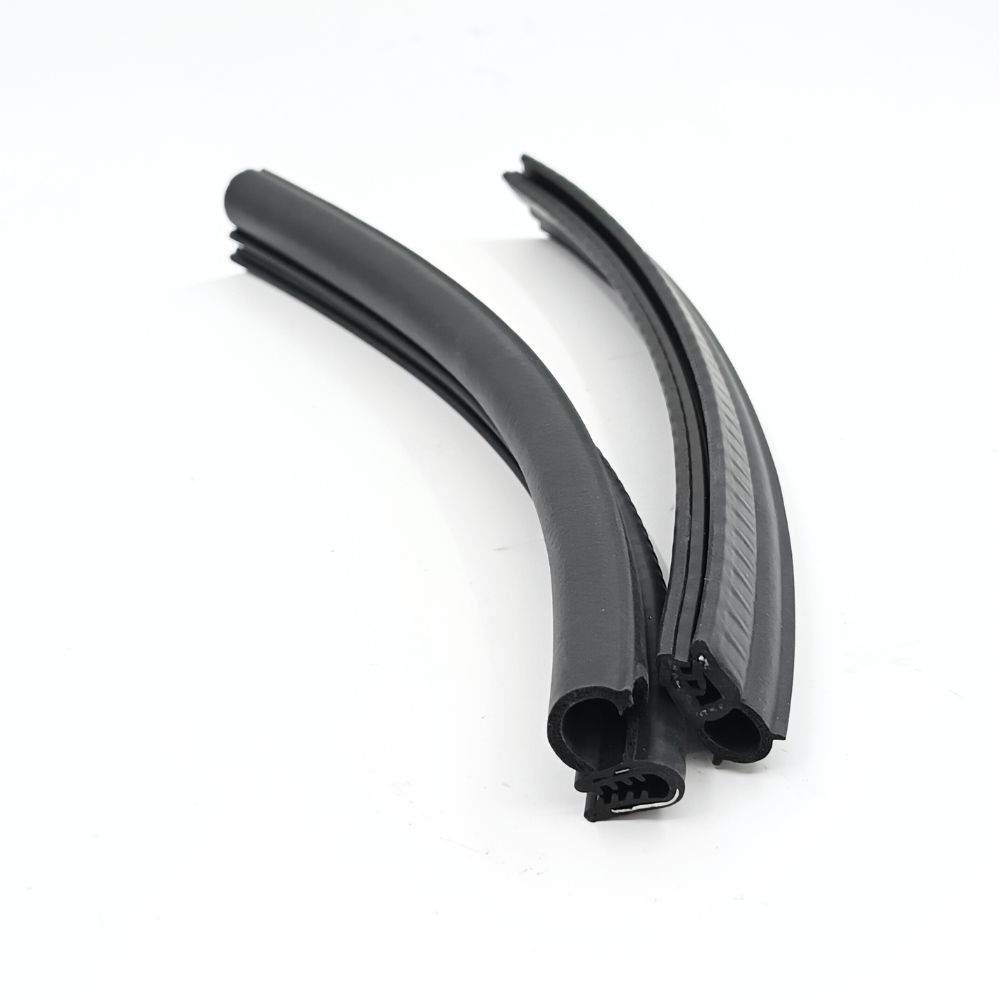
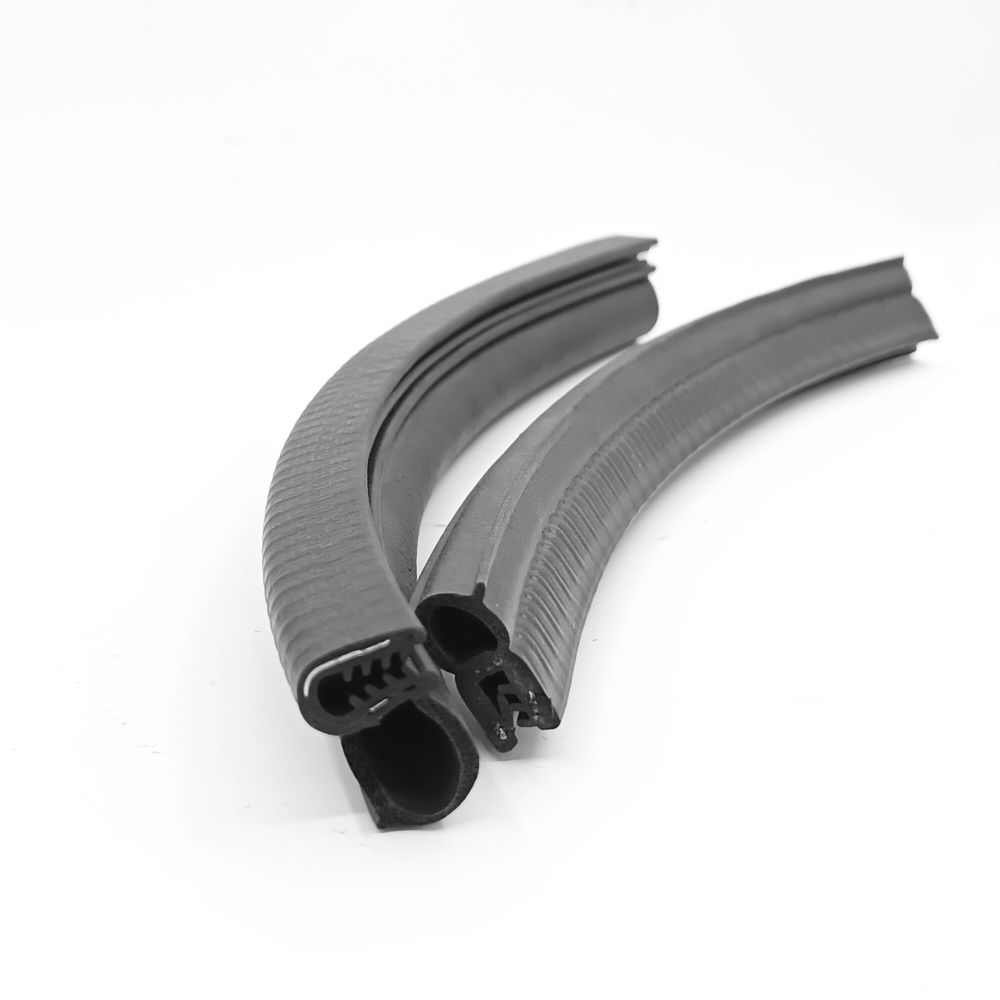
Types of Automotive Weatherstripping
-
Rubber Weatherstripping: This is the most common type, made from high-quality rubber or EPDM (ethylene propylene diene monomer). It provides excellent resistance to water, UV rays, and extreme temperatures.
-
Felt Weatherstripping: Often used in older vehicles, felt weatherstripping is less durable but is effective at reducing road noise. It is usually applied around doors and windows.
-
Vinyl Weatherstripping: Vinyl is a cost-effective option with good durability. It’s typically used in less critical areas where extreme weather resistance is not as crucial.
-
Silicone Weatherstripping: Known for its superior resistance to extreme temperatures and chemicals, silicone weatherstripping is often used in high-performance or luxury vehicles.
Benefits of Proper Weatherstripping
- Improved Insulation: Keeps the cabin at a comfortable temperature by minimizing heat loss or gain.
- Noise Reduction: Reduces road and wind noise for a quieter ride.
- Enhanced Protection: Prevents water, dust, and pollutants from entering the vehicle.
- Increased Longevity: Protects interior components from moisture and debris, extending their lifespan.
How to Install Automotive Weatherstripping
Installing automotive weatherstripping can be a straightforward task if you follow the right steps. Here’s a step-by-step guide to help you with the installation process:
1. Prepare the Surface:
- Clean the Area: Begin by cleaning the surface where the weatherstripping will be applied. Use a mild detergent and water to remove any dirt, grease, or old adhesive. Ensure the area is completely dry before proceeding.
2. Remove Old Weatherstripping:
- Carefully Pry Off: Use a plastic trim tool or a flathead screwdriver to gently pry off the old weatherstripping. Be cautious not to damage the underlying surfaces.
- Remove Residual Adhesive: If there is any adhesive residue left, use a suitable adhesive remover or rubbing alcohol to clean the area thoroughly.
3. Measure and Cut New Weatherstripping:
- Measure the Length: Measure the length of the area where the weatherstripping will be applied. Cut the new weatherstripping to the required length, allowing a little extra for adjustments.
4. Apply Adhesive (if required):
- Choose the Right Adhesive: Depending on the type of weatherstripping, you might need adhesive. Use a weatherstripping adhesive or a similar product recommended by the manufacturer.
- Apply Evenly: Apply a thin, even layer of adhesive to the surface where the weatherstripping will go. Follow the adhesive manufacturer’s instructions for drying times.
5. Install the Weatherstripping:
- Align Properly: Position the weatherstripping on the surface, making sure it aligns with the edges. Press it firmly into place, ensuring a tight seal.
- Seal the Edges: For weatherstripping with adhesive backing, press down along the edges to ensure full adhesion. If using a non-adhesive type, follow the manufacturer’s recommendations for securing it in place.
6. Check and Adjust:
- Test the Seal: Close the door or window to test the seal. Ensure that the weatherstripping creates a tight fit without gaps.
- Make Adjustments: If necessary, trim any excess weatherstripping or adjust the position to achieve a perfect seal.
7. Final Inspection:
- Check for Gaps: Inspect the entire length of the weatherstripping to ensure there are no gaps or areas where the seal is not properly adhered.
- Clean Up: Remove any excess adhesive and clean the area.
Conclusion
Properly installed weatherstripping not only enhances the comfort and efficiency of your vehicle but also extends the life of its interior components. By understanding the different types of weatherstripping and following these installation steps, you can ensure that your vehicle remains well-sealed against the elements. Whether you're replacing old weatherstripping or upgrading to a more durable type, these tips will help you achieve a perfect seal and enjoy a quieter, more comfortable ride.


 IPv6 network supported